EmpireBuilderDave's Model Railroad Room
(Click Photo for Enlarged View)
Updated December 15,2004
Construction Photos
The Beginning
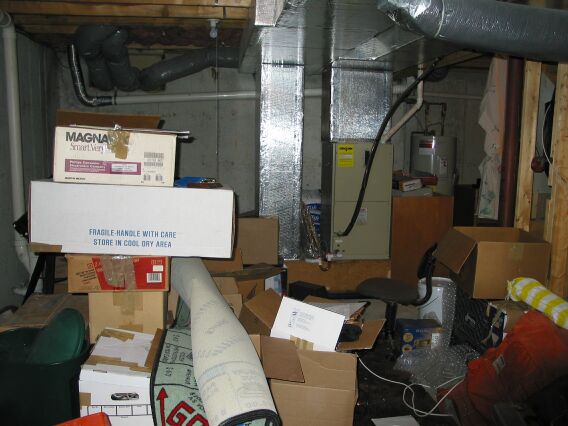
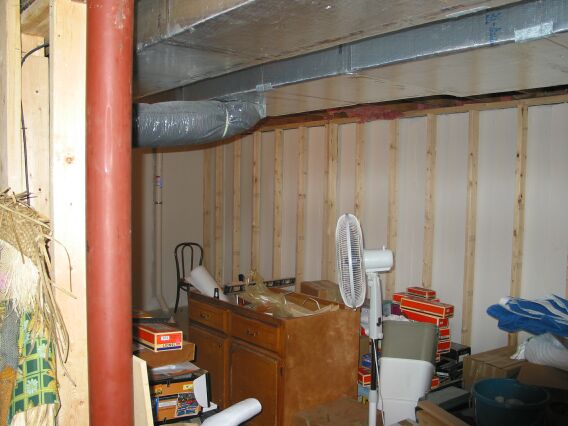
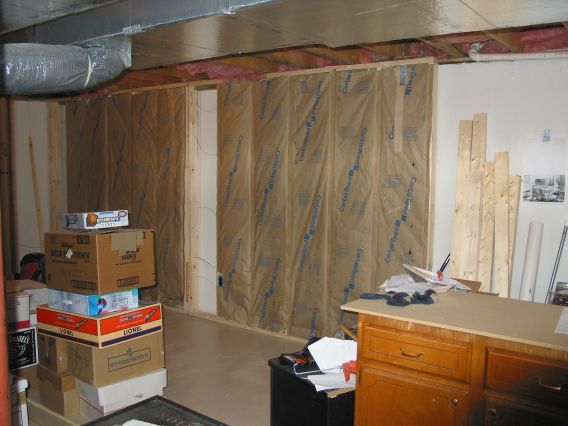
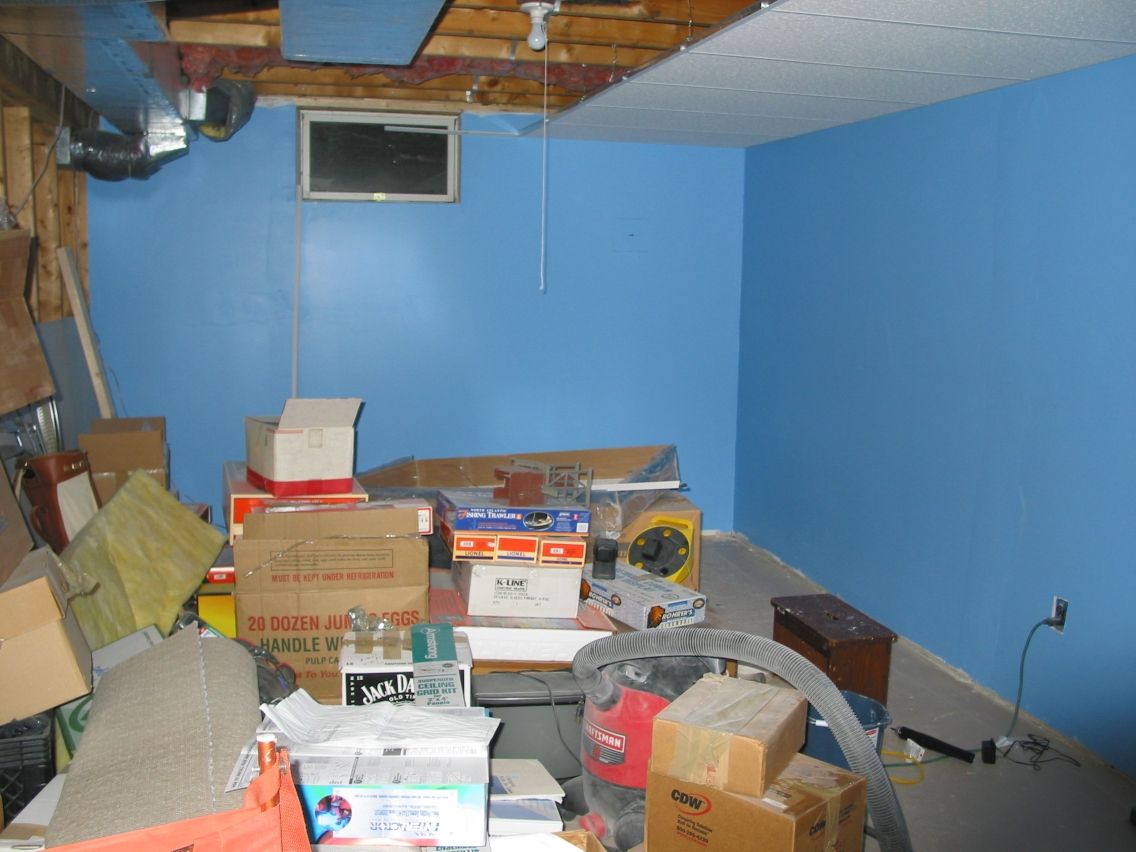
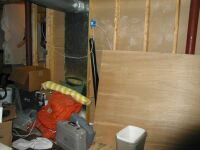
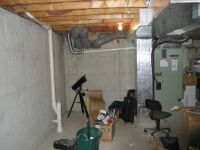
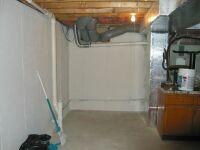
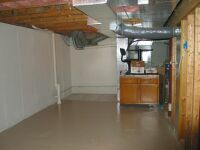
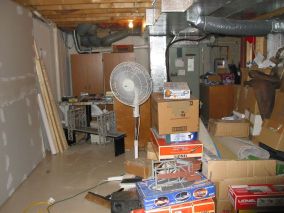
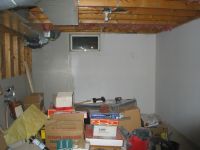
I started with this half of the basement unfinished as a place to store everything.
As you can see, it was a disaster zone and hard to imagine what it could become.

This is from the back wall looking towards the furnace
|

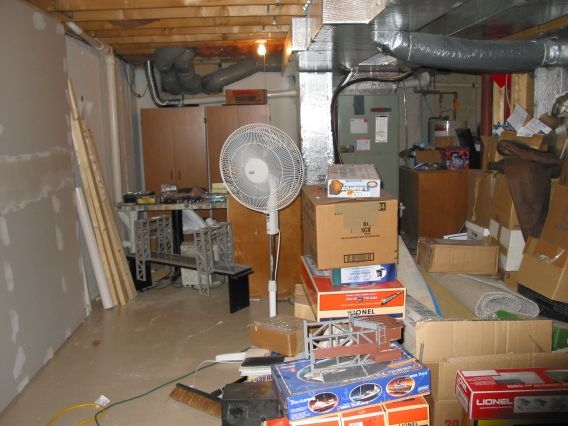
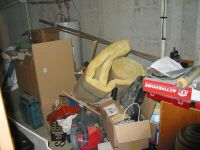
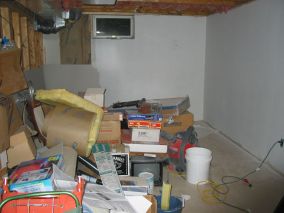
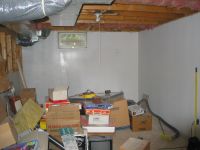
Looking towards the back wall from the entrance, lots of stuff to clear out!
|
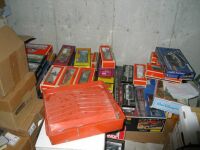
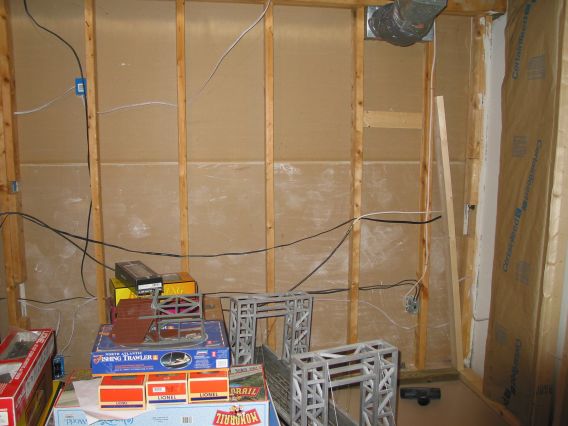
Here is where all my model railroad collection ended after the move
|
Another view looking towards the entrance from the "shop"
|
Massive Cleanup
A large part of the work was cleanup to see the blank slate
or actually "Massive move everything to another room"
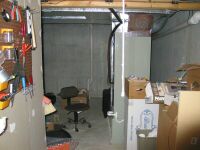
Looking towards the back wall from the entrance, lots of stuff to clear out!
|

Looking towards the back wall from the entrance, lots of stuff to clear out!
|

Here is where all my model railroad collection ended after the move
|
Another view looking towards the entrance from the "shop"
|
Waterproofing Walls
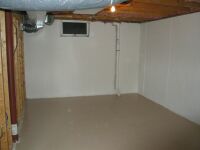
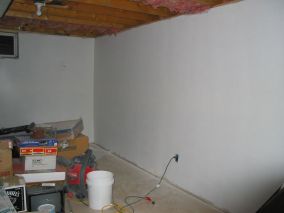
The next step after cleaning up everything was to paint the walls with waterproofing paint
to cut down on moisture in the air and hopefully avoid installing a noisy dehumidifier.
I used 5 gallons of Drylock paint from Home Depot. The layout room is taking shape
and it is easier to see what room I have to work with now.
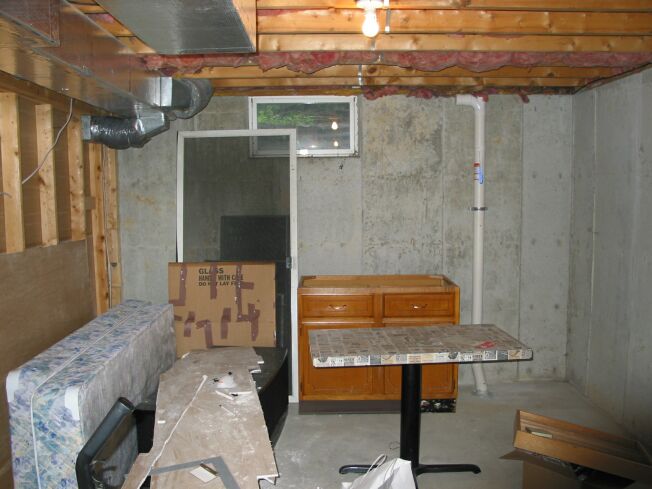
Here is where much of the junk was piled
|
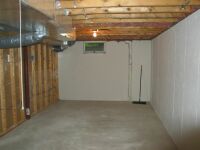
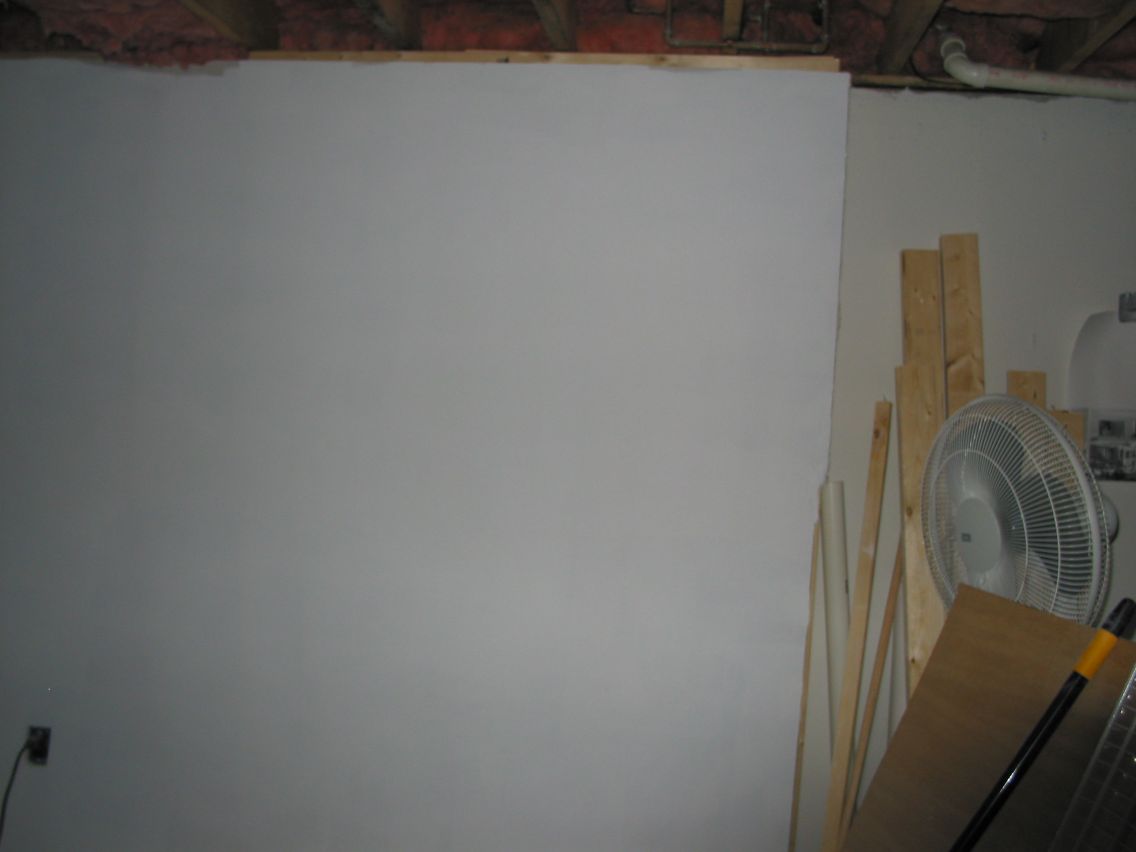
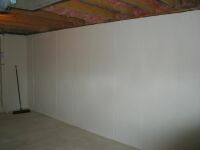
Ah, a nice blank slate with clean white walls
|

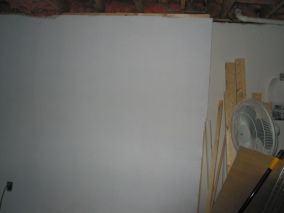
Looking towards the left side of the layout room
|
Applying this Drylock feels like applying wet cement to the walls, it is so much heavier than regular paint
|

New view looking towards the entrance from the shop
|
This area is set aside for my model railroad library and service shop
|
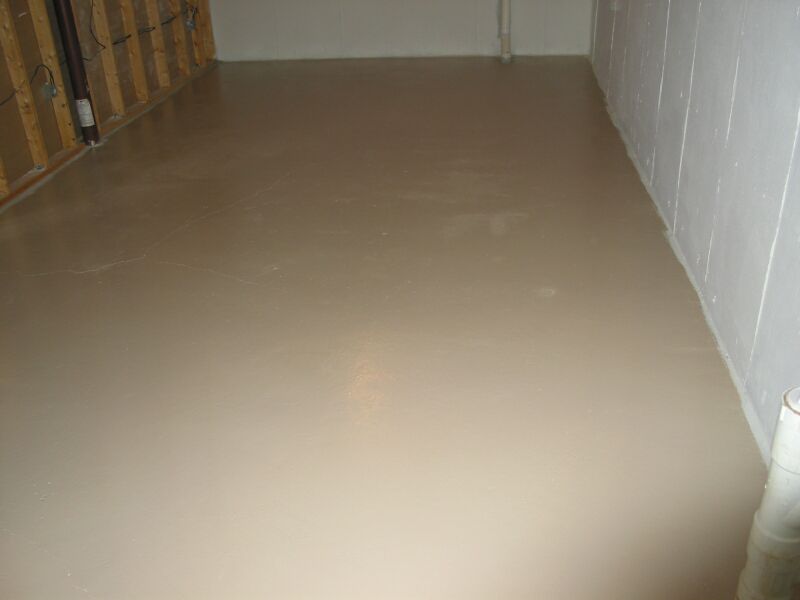
Finishing Concrete Floor
Continuing on after the walls are done is to finish the floor. I plan to keep the cement floors for durability during construction,
but I wanted to finish them to seal in dust, allow easy cleaning, and give a nice finished sheen. I ended up purchasing
Epoxy Paint for garage floors and finished the floor. I first had to clean and etch the floor with a fumey citric acid,
which wasn't the best for the old breathing. The Epoxy paint delivers an easy to clean floor that keeps concrete dust sealed
and should allow for heavy traffic for visitors. It will also allow construction of the layout without damage to the floor.
Not as easy to tell from this photo, but the floor looks amazingly better
|
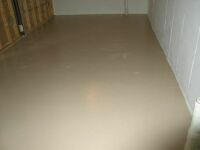
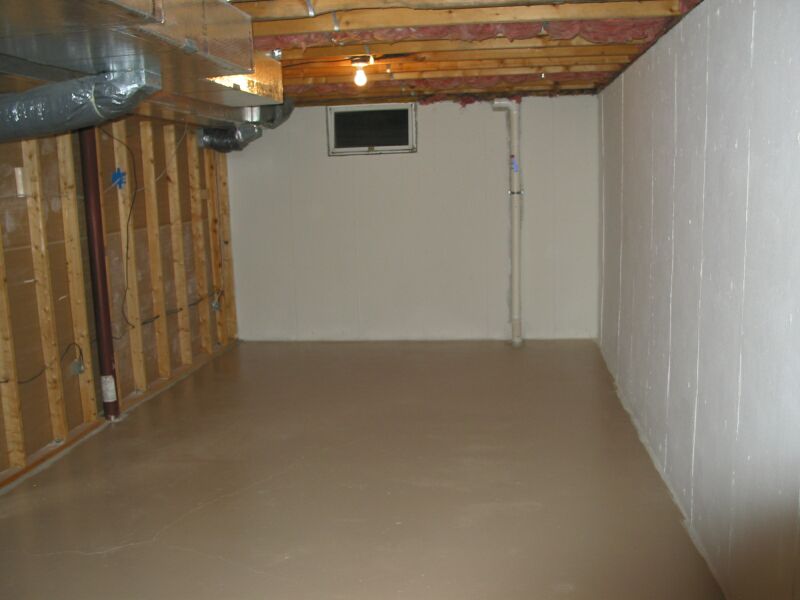
The dusty stained concrete look is now replaced by a shiny finished appearance
|
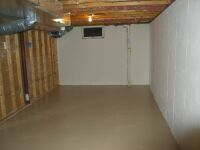
This will likely be the last time I see this room so clean!
|
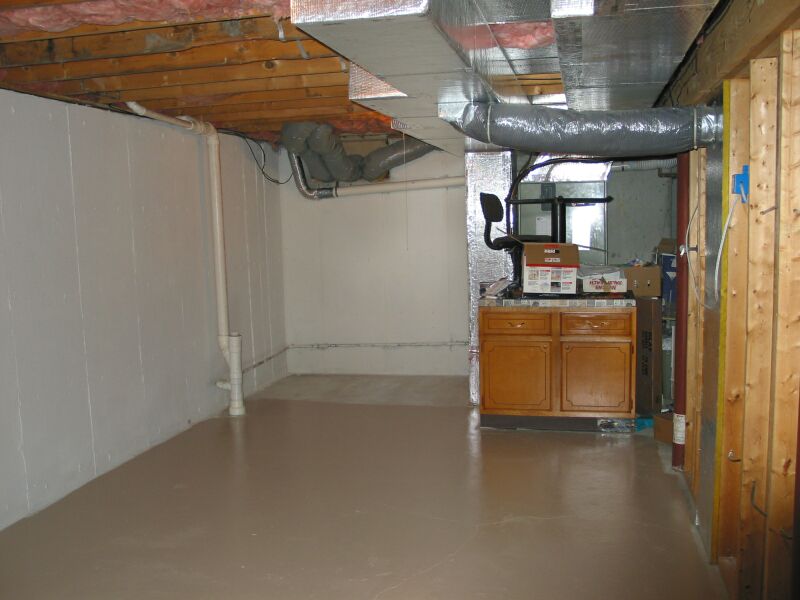
I finished to the point of the railroad library/shop, where I intend to put down some type of flooring
|
Framing
Now it is time for framing the walls. A long drawn out process if you can't hammer when the toddler is sleeping.
My father says at this point I am finishing the room "One stud at a time".
Here is time lapse over the course of 2 months, starting in January .
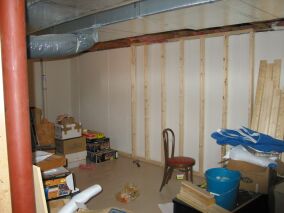
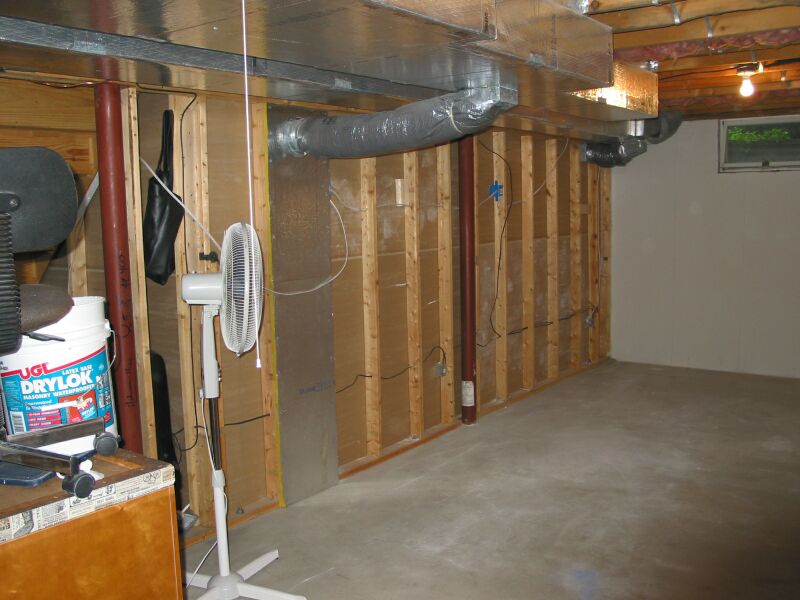
I am building the stud wall set off from the concrete wall to additionally prevent moisture travel to the wall.
|
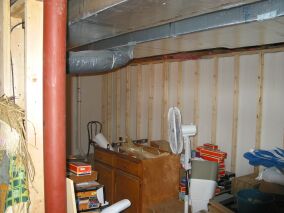
By doing full 2x4 stud walls, I can insulate and hopefully keep the room naturally warm during the winter.
|
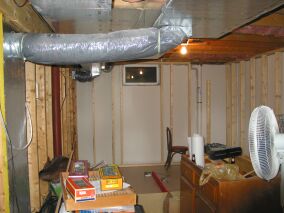
The stud walls and insulation will also noise insulate the room from the house for peaceful train running.
|
Railroad Library/Shop
Time to organize the books and archive materials to build the railroad. We got a
couple large bookcases into the Library area and I moved my table into place.
It is a very fitting table, with prints of old turn of the century newspaper advertisements,
which will fit in well with the railroads 1920s-1950s timeframe. It is actually an
old dining room table from a Wendy's fast food restaurant.
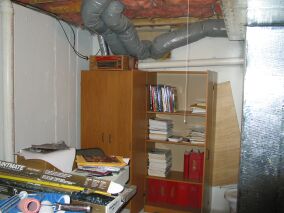
Finally, a place for all my books and expansive magazine collection
|
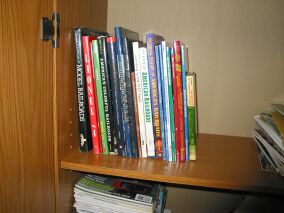
Here are many of the model railroading books I have collected over the years
|

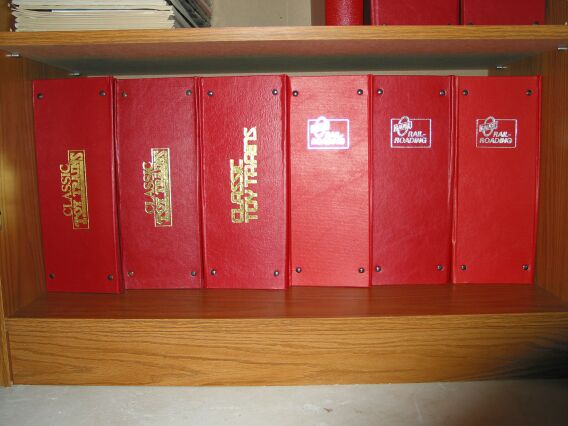
Here is part of my magazine collection in nice binders, the best way to store them
|
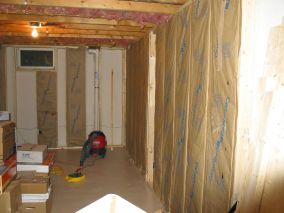
Wiring and Insulation
Finally got framing done after a huge amount of time! I ran electrical cable through
the wall and installed one outlet on each wall for a control panel. I also installed
a switch for the outlets and overhead lights to easily shut down the entire system.
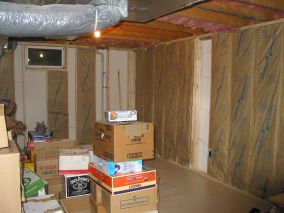
Adding insulation, while a itchy job, covers the room with a nice blanket.
It is definitely much quieter and much more cozy
in the room now.

Fiberglass rolls cut to length and stapled into place
|
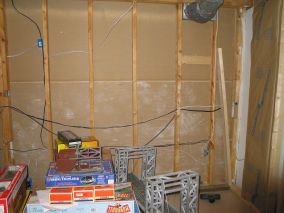
Of course with my haphazard framing techniques some cavities are too large or too small for the insulation pieces
|
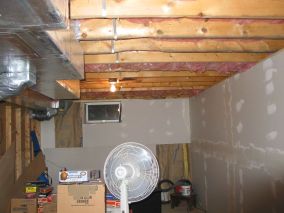
This is the wall shared with the theater room, which I intend to stagger stud and completely soundproof, probably awhile down the road.
|
A view into the room along the right side wall.
|
Installing Drywall
Drywall is a great product that covers up the walls quickly. I wouldn't recommend
installing it alone (which I did) or trying to tape and mud quickly (which I did).
With the drywall up, taped and mudded, the layout room has a nice clean finish. With our
second baby on the way very soon, I cut the project scope down to finishing the right side
and back walls, knowing that is enough to build my first two benchwork tables and
have the room in finished condition for our baby boy's delivery. It is a race against time to be able to
run some trains and spend time in the train room with my daughter (as a "getaway") before our time is taken up by midnight feedings.
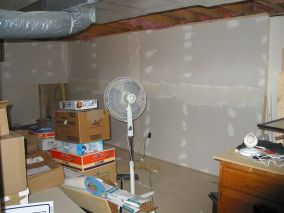
Drywall nicely covers up all the studwalls, insulation and plumbing.
|
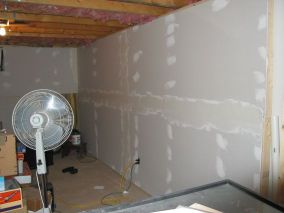
While large drywall sheets quickly cover sections of the wall, the taping and mudding several coats takes a long long time.
|
Looking into the room from the Railroad Library/Shop
|
Looking from the far wall into the Railroad Library/Shop
|
Sanding and Priming
Well, I have not been awarded any prizes for my drywall sanding technique, but I figured
I would just cover all the seams with scenery anyway :). Priming the walls further cleans up the look and
I am getting closer to the end of this phase anyway.
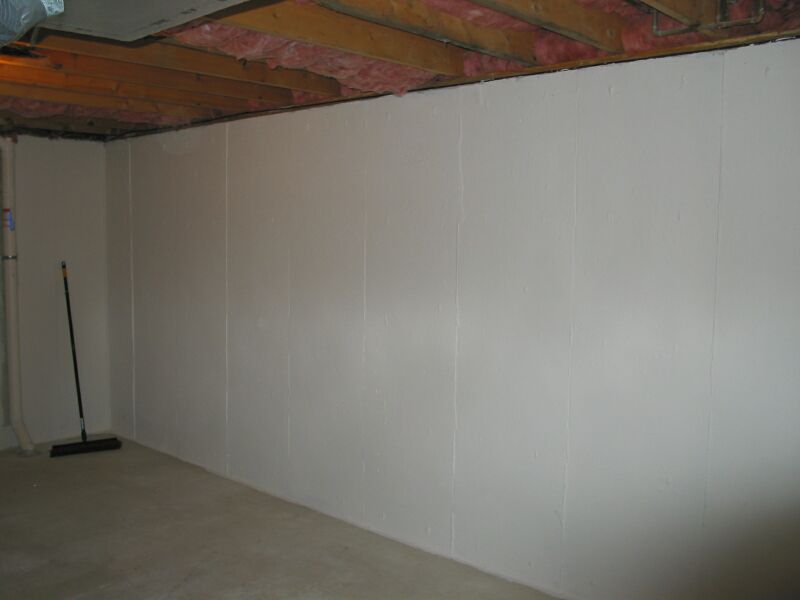
A much smoother look with the primer on board
|
I need to do some finishing on the far left corner here, but wanted to get priming so I can move some stuff around
|
Here is where the right side wall ends, the "front" of the layout room. I may finish the other side of this room too....someday.
|

The whole room, ready to have the window and left side finished and painted.
|
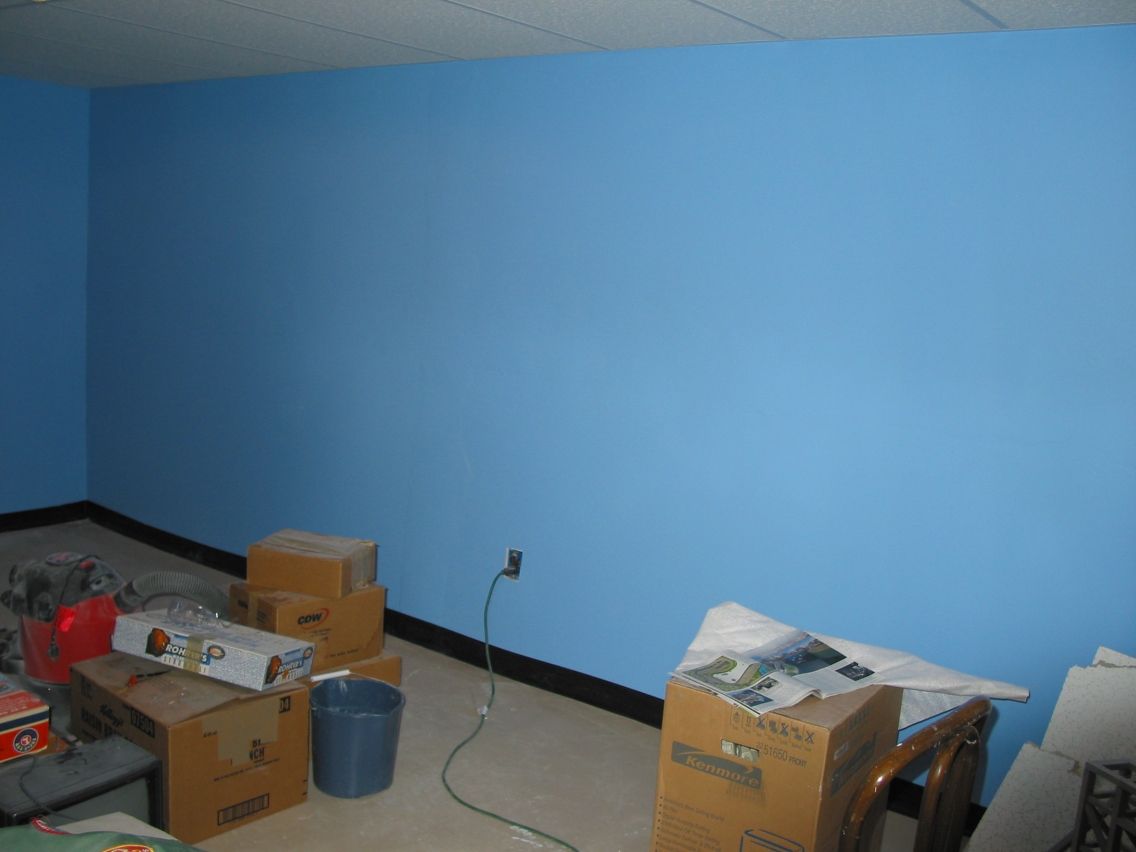
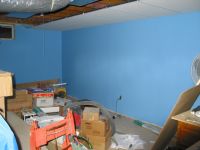
Final Paint
I had to finish up the final section of the wall, then painting time!
Once the priming was done, the final sky blue coat of paint goes up to get the room ready for the layout. Fortunately I have some blue paint
left over from another project, waste not want not. Now it is looking like a railroad room!
I got the wood I needed to finish framing and drywalling the corner
|
Then primed the corner to match the rest. I will finish the final wall much later, as it contains all the home theater wiring.
|
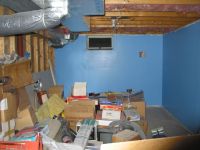
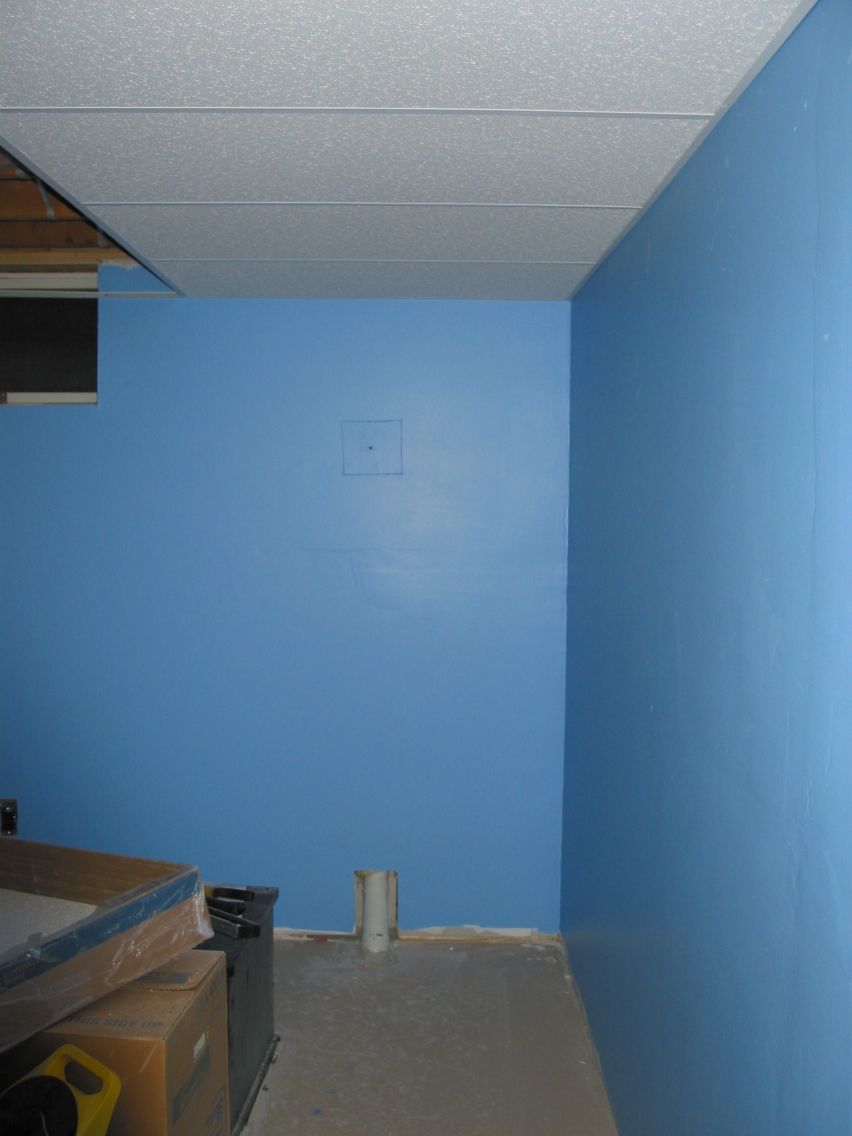
A stunning difference with the new paint and it finally looks like a real room!
|
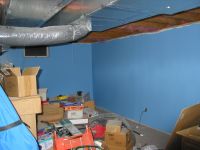
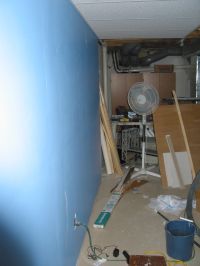
The vibrant bright color really brightens up the room and will be a great backdrop.
|
Installation of Suspended Ceiling
The "final step" in construction is to cover up all that nasty insulation and ceiling with a clean suspended ceiling.
I completed this all in one long weekend and cut corners everywhere I could so it is not a text book installation.
I also skipped contending with the HVAC ductwork and was satisfied with covering the area
over the layout. With the ceiling in, the room is finally enclosed and ready for the start of a model railroad layout.
Here is the first row of panels installed. I nailed up the wall moldings on two sides and hung a main beam before this step.
|

Looking into the room you can see one row is done but another row is necessary to cover up to the ductwork.
|
Here is a view into the library/shop with the new ceiling panels overhead. The ceiling is a good 6 inches lower now.
|

Looking into the back corner with the ceiling overhead, it feels like a much smaller room now, or in my terms a "more enveloping layout room"
|

Here I have the second set of ceiling panels installed. I put a second main beam up against the ductwork so the whole ceiling wouldn't sway anymore.
|

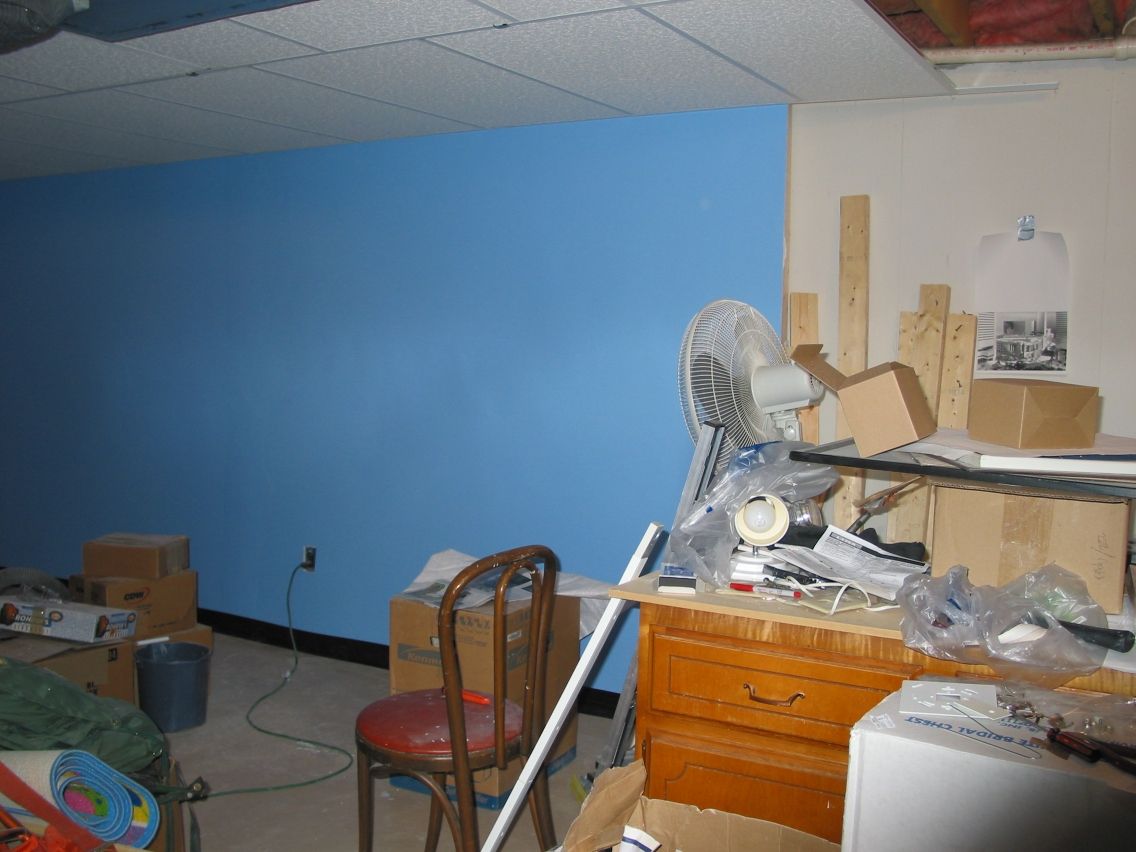
Looking into the room I now have the entire layout area covered by ceiling tiles which cleans it up alot.
|

I also put in a vinyl baseboard from Lowes. The drywall is installed a couple inches off the floor to avoid it getting wet or moist. The black baseboard you can see here connects the walls to the floor and keeps out dirt and dust from cleaning. The black looks great against the blue walls, but will be covered up by the benchwork.
|
The Room is Complete (for now)
More than one year later, the room is done. I achieved my goal of finishing the room first this time
instead of building around the layout. It isn't perfect, but the room allows me to build and enjoy the layout, spend time with my children,
and share the layout with friends. I also finished the room by my deadline of before our baby is born,
so we will be able to all enjoy the room together.
NEXT STEP: BENCHWORK